A successful lighting project begins long before anyone switches on a fixture. The Lighting Installation Planning Guide helps you turn room measurements, daily routines, and design goals into a practical plan. Consider where people read, cook, work, or walk after dark. A desk may need focused task lighting, while a hallway benefits from even, low-glare illumination. Small details matter.
Start by documenting ceiling heights, window positions, existing wiring, and the location of switches. Then compare fixture types, light output, color temperature, and control options against each room’s needs. A warm lamp beside a sofa feels different from a bright kitchen work light. The right choice depends on use, not just appearance. Check product specifications, confirm compatibility, and ask a qualified lighting professional or electrician to review technical requirements before installation.
Your plan should also account for budget, access, maintenance, and future changes. For example, a high ceiling can make bulb replacement difficult, even when a pendant looks perfect in a showroom. Draw a simple fixture layout and note the intended function of each light. Leave room to revise it. Plans change. I have seen attractive concepts lose practicality when glare, shadows, or switch placement were considered too late. This guide outlines a clearer way to assess your space, select suitable lighting, coordinate installation, and check the finished result. A careful process cannot predict every surprise, but it can make costly oversights less likely.
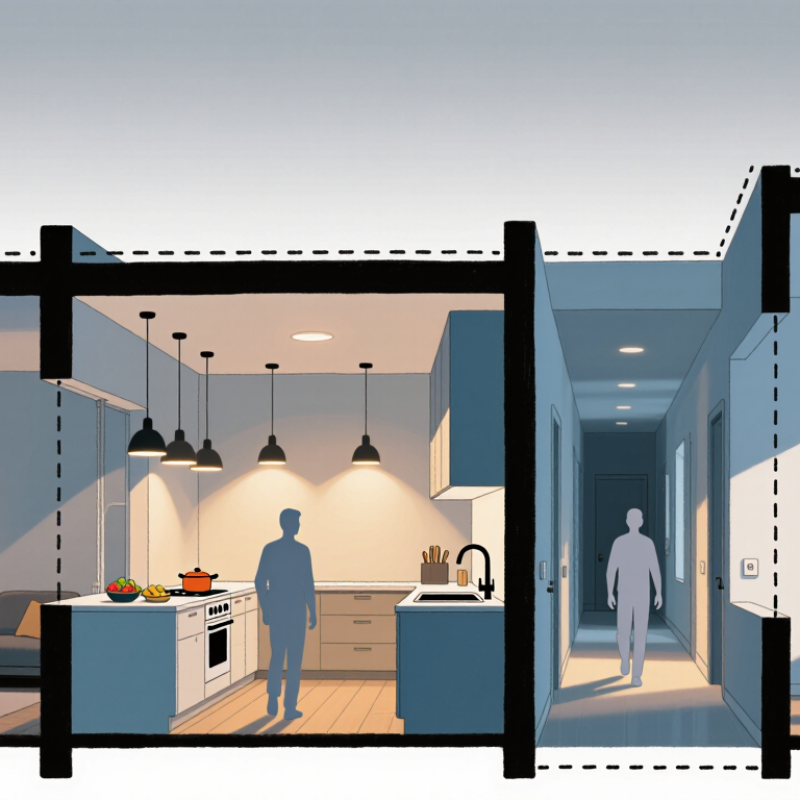
A useful lighting plan starts with what people will do in each space, not with fixture selection. List the tasks, users, and mood you want to support. A kitchen island may need clear, even light for food preparation, while a nearby dining area may feel softer. Note ceiling height, wall colors, window positions, and when daylight reaches the room. These details affect brightness and shadows. Small rooms can surprise you.
Turn those observations into practical requirements. Identify target light levels for each task, using applicable professional guidance and local standards. Consider glare, color appearance, dimming, switching locations, and how fixtures will be maintained. A lighting professional can help check calculations and coordinate plans with electrical and architectural drawings. Don’t rely on a fixture’s wattage alone; it does not tell you how light will reach a desk or countertop. Early estimates may miss real-world conditions, so revisit them after reviewing samples or a mock-up.
Tips: Sketch activity zones on a floor plan. Mark windows and note the time of day each area is used. Ask someone who will use the space to review the plan; your assumptions may be off. Keep those comments.
| Area or Activity | Primary Lighting Goal | Indicative Maintained Illuminance | Suggested Color Temperature | Color Rendering | Controls and Key Requirements |
|---|---|---|---|---|---|
| Open-plan office workstations | Support reading, computer work, and sustained visual tasks while limiting glare. | About 300–500 lux on the work surface | 3500–4000 K | CRI 80 or higher | Use dimming and occupancy-based control where appropriate. Check screen reflections, uniformity, and glare from luminaires and windows. |
| Meeting and collaboration rooms | Provide clear visibility for discussion, note-taking, and presentations. | About 300–500 lux for general table tasks; lower levels may suit presentations. | 3000–4000 K | CRI 80 or higher | Provide separately controlled lighting for the meeting table and presentation area. Consider dimming and scene presets. |
| Classrooms and training rooms | Make faces, printed materials, and teaching surfaces easy to see. | About 300–500 lux on desks | 3500–5000 K | CRI 80 or higher | Allow separate control of teaching-board and desk lighting. Reduce glare on screens and boards; provide suitable presentation scenes. |
| Corridors and circulation areas | Support safe movement and clear wayfinding. | About 100–150 lux on the floor | 3000–4000 K | CRI 80 or higher | Use consistent light distribution and avoid dark patches. Occupancy or scheduled controls can reduce energy use while maintaining safe access. |
| Retail display and sales areas | Provide comfortable ambient light and draw attention to merchandise. | About 300–500 lux for ambient lighting; higher levels may be used selectively for displays. | 3000–4000 K, selected to suit merchandise | CRI 90 or higher for color-critical merchandise | Use adjustable accent lighting and separate display circuits. Check color appearance, shadows, and glare from customer viewpoints. |
| Workshop or inspection bench | Reveal fine details and support accurate close-up work. | About 500–1000 lux at the task, depending on detail and precision | 3500–5000 K | CRI 80 or higher; higher where color matching is important | Provide task lighting in addition to ambient light. Control shadows and reflections, and verify illuminance at the actual work position. |
| Warehouse aisles and storage areas | Support safe movement, storage identification, and picking tasks. | About 100–200 lux on the floor or working plane, adjusted to task needs | 4000–5000 K | CRI 80 or higher | Consider rack geometry, mounting height, and vertical visibility of labels. Select suitable equipment for dust, impact, and operating conditions. |
| Project-wide requirements | Coordinate comfort, energy use, maintenance, and safety across the installation. | Set targets by activity and measurement plane; verify them through lighting calculations and commissioning. | Choose a consistent palette appropriate to each space and its use. | Specify color quality according to the visual task. | Confirm applicable local codes, emergency-lighting provisions, dimming compatibility, controls, mounting conditions, maintenance access, and the project’s energy requirements. |
Illuminance figures are indicative planning ranges, not a substitute for project-specific design. Confirm final targets against applicable regulations, task requirements, room geometry, surface finishes, and a qualified lighting calculation.
Start with the activities in each space. Food preparation needs clear, even light; dining may feel softer. Note windows, ceiling height, and wall colors.
Wattage alone does not show where light lands. Check output, distribution, glare, and the actual task. A desk can still end up dim.
Use ambient light for general visibility, task light for focused work, and accent light for emphasis. Small details matter.
Space ceiling fixtures evenly and consider under-cabinet lighting. Review the counter from where people actually work, not just from the doorway.
A temporary fixture can reveal glare and reflections. A bright fitting over a glossy desk may look fine on paper, then distract in use.
Mark fixture locations, mounting heights, control zones, circuits, switches, junction boxes, and access panels. Measure twice.
Match dimmers to the selected fixtures and group lights by use. Test switching and dimming on site; plans can fool you.
Ask space users and trades to review it before installation. Their comments may catch a missed beam, awkward shadow, or maintenance issue. My first estimate can be wrong.
This Lighting Installation Planning Guide explains how to turn a project’s needs into a practical, well-coordinated lighting plan. Begin by defining the intended purpose, atmosphere, performance, and operational requirements. Then assess the space, site conditions, and existing infrastructure, including room dimensions, natural light, mounting options, and available electrical capacity. This groundwork helps ensure that design choices fit the site rather than relying on assumptions.
Next, develop a lighting layout and select fixtures suited to each area and task. Coordinate the layout with electrical plans, control systems, and applicable safety requirements so that installation details are clear before work begins. Finally, establish a realistic schedule that allows for installation, testing, adjustments, and commissioning. A careful process from initial goals through final checks can help reduce avoidable changes and deliver a lighting system that performs as intended.

 Boray Light